How to paint Ensignia

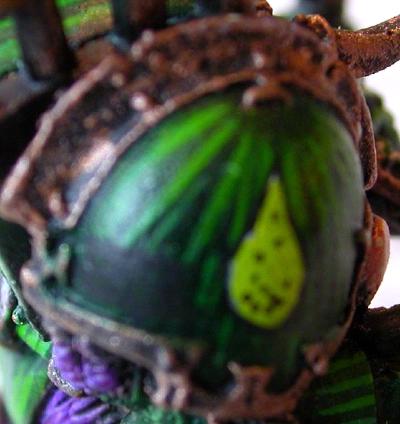
Ensignia are surprisingly easy to paint. I've done it pretty much the same way for years. White Dwarf occasionally has articles about it but I've distilled the gist of it to this very page. I'm a bit dismayed that even with so so light my camera managed to take extreme close ups that make my painting look a bit sloppy which really isn't the case. The Ensignia in question is a campaign badge from my Vancouver GT Army. It is perhaps a centimetre wide and about a half centimetre high.
Paint it Black

The first step is generally to paint the shape of the ensignia in black. In this case I wanted a rectangular patch. I intended to paint three stylized letters on it eventually. I used a size zero brush for everything including the letters. All paints are GW, but most are out of print.
Paint it Blue

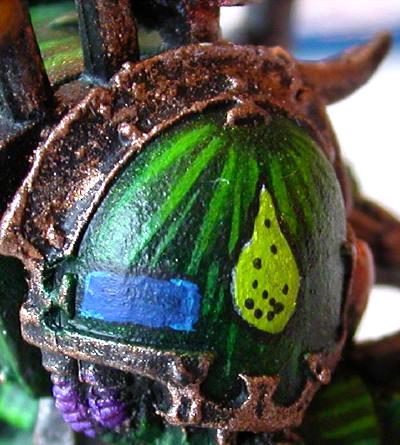
Depending on the color you want your ensignia you may have to paint white on top of the black badge. The chapter badge was done this way, you can even see tiny specks where I missed painting green over the white. The goal with this coat is to leave an outline of black around the shape. So in the previous stage you should paint your black shape slightly bigger then you need. For this coat I used Moody Blue, possibly from the original Monster Paint Set.
Paint it Bluer

For this ensignia I wanted to give it highlights on the edges, I've done some experimenting and for rectangular shapes it is best to just highlight the corners. This requires two tiny lines per corner. It isn't that hard. You can paint on top of the previous blue and if you paint a bit on the black too, it doesn't matter, it'll look fine.
Lettering
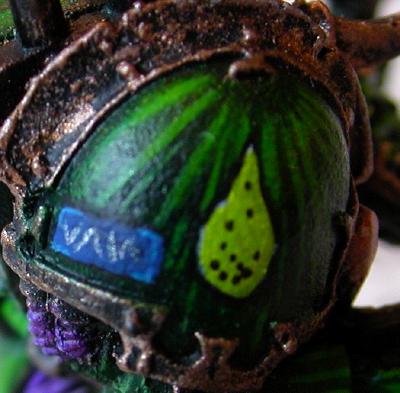
Some people seem to advocate using graphing pens to do ensignia and lettering. I am not of that school. I have tried it and it works fine for banners. However for curved surfaces like this shoulder pad and if you want your lettering to be a different color such as silver the graphing pen technique is not so effective. For these badges I used stylized letters which are all slanted lines. I have no horizontal or vertical lines, it makes it look different.